Getting Started
Use noctune in a browser to record an appointment, upload existing audio, review the transcript, and finish the clinical note. The iOS app can also capture audio and send the encounter to the same workspace.

1. Sign up or sign in
Open the sign-in page. You can continue with Google or Apple, or enter your work email and password and select Continue.
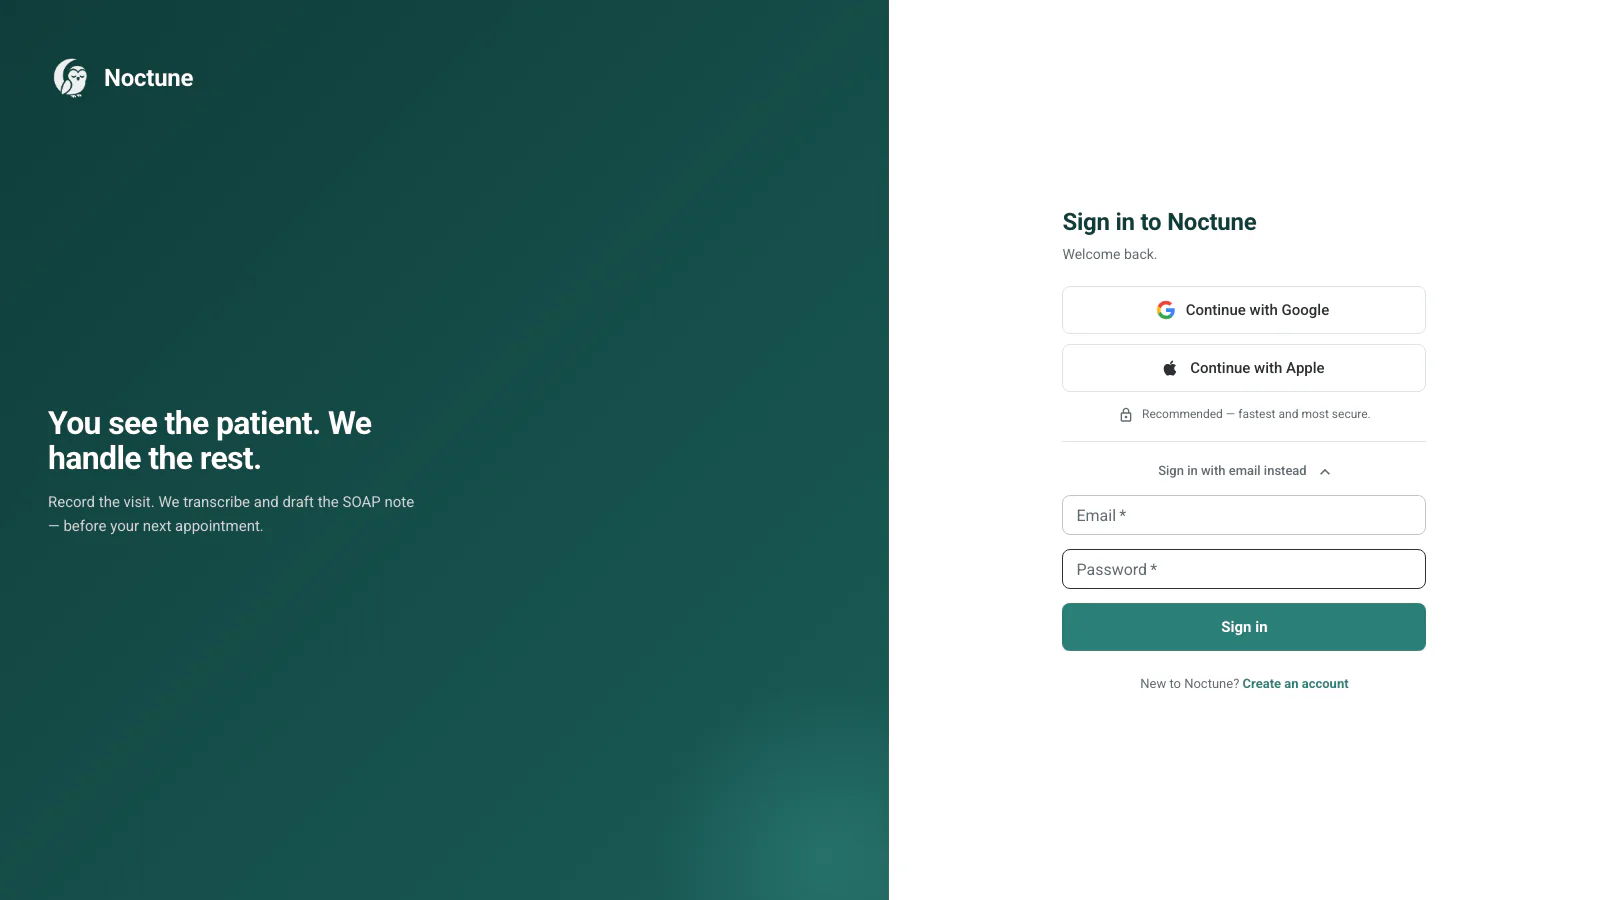
If a practice invited you, sign in with the address that received the invitation.
2. Accept the terms
The first time you sign in, noctune shows a Before you record step. Review how your recordings are used, the Terms of Service, and the Privacy Policy. Agree & continue becomes available after you select all three acknowledgements. noctune asks again only when your account has not accepted the current versions.
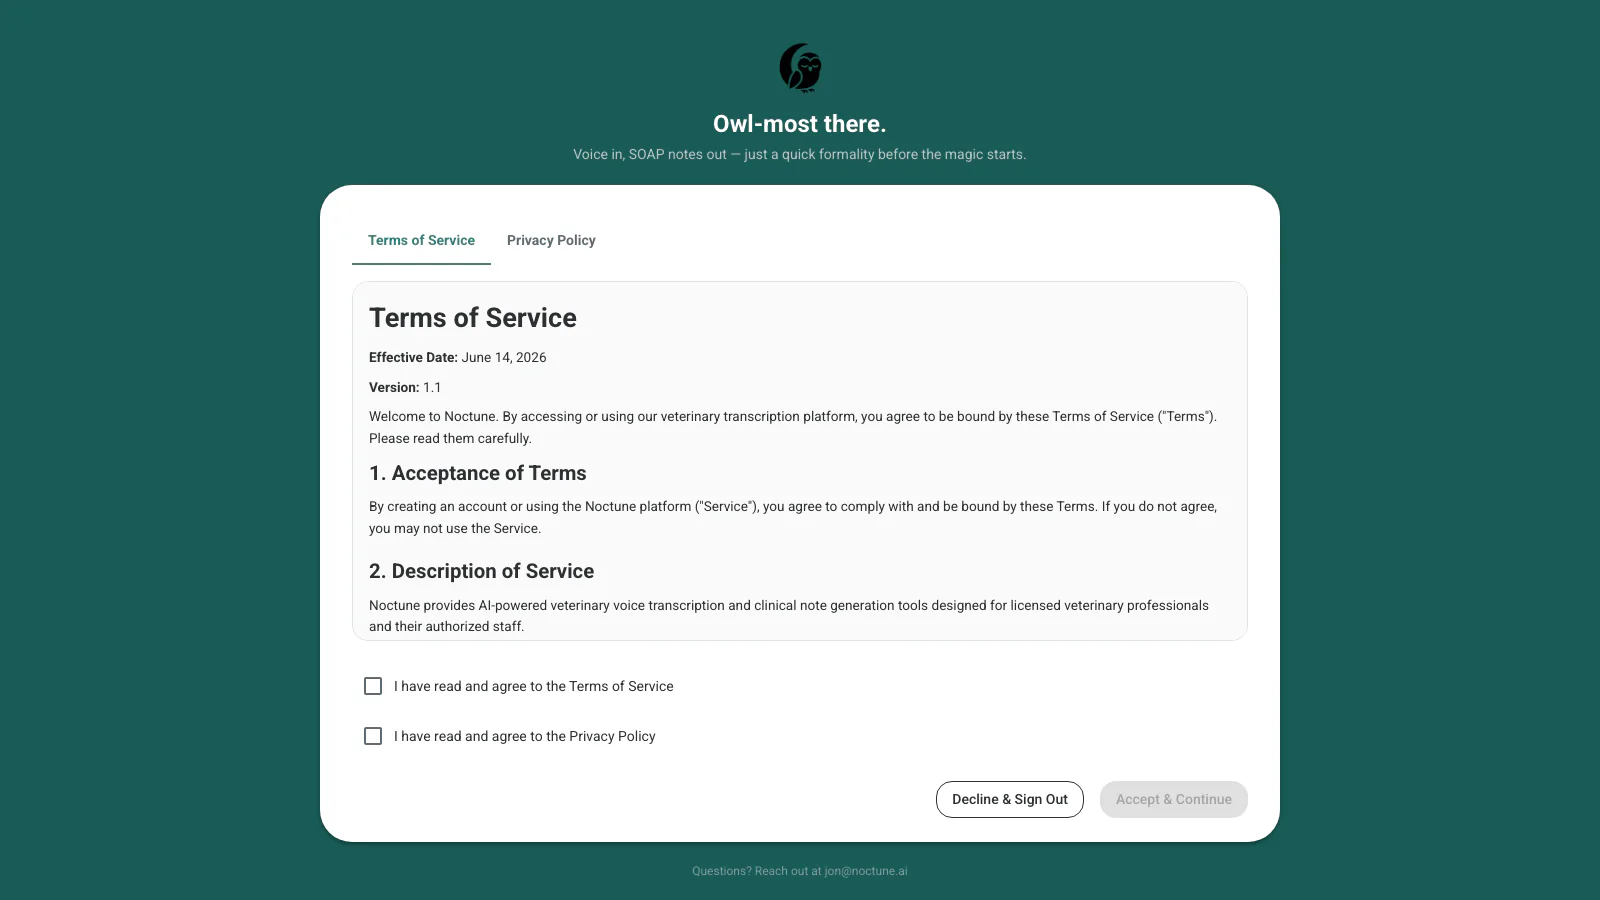
On iOS, one more step follows the terms. A one-time How your recordings are used screen explains that a submitted recording is sent to Deepgram to turn speech into text and to Amazon Web Services (AWS) to draft your note. Choose Agree & Continue to reach the app; on the web, that recording and AI-drafting consent is folded into the Before you record step above rather than a separate screen. See Data Storage & Retention for the full path your recording takes.
3. Land on the dashboard
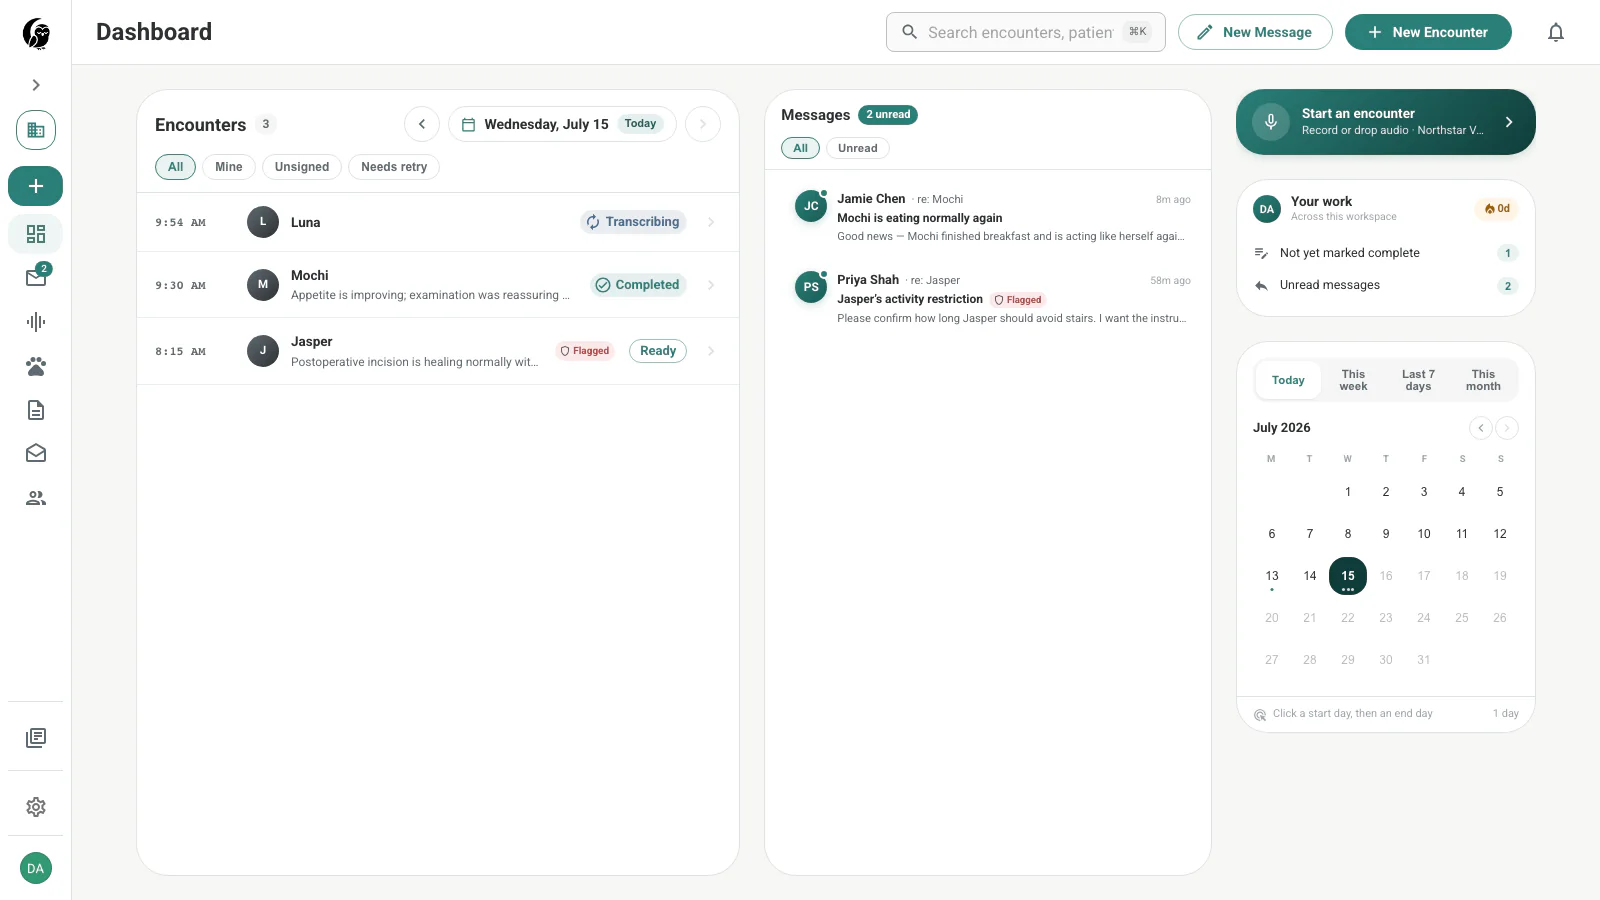
After acceptance, noctune opens the Dashboard. It brings the selected day’s encounters, recent client replies, outstanding work, activity calendar, and recording shortcut into one view.